


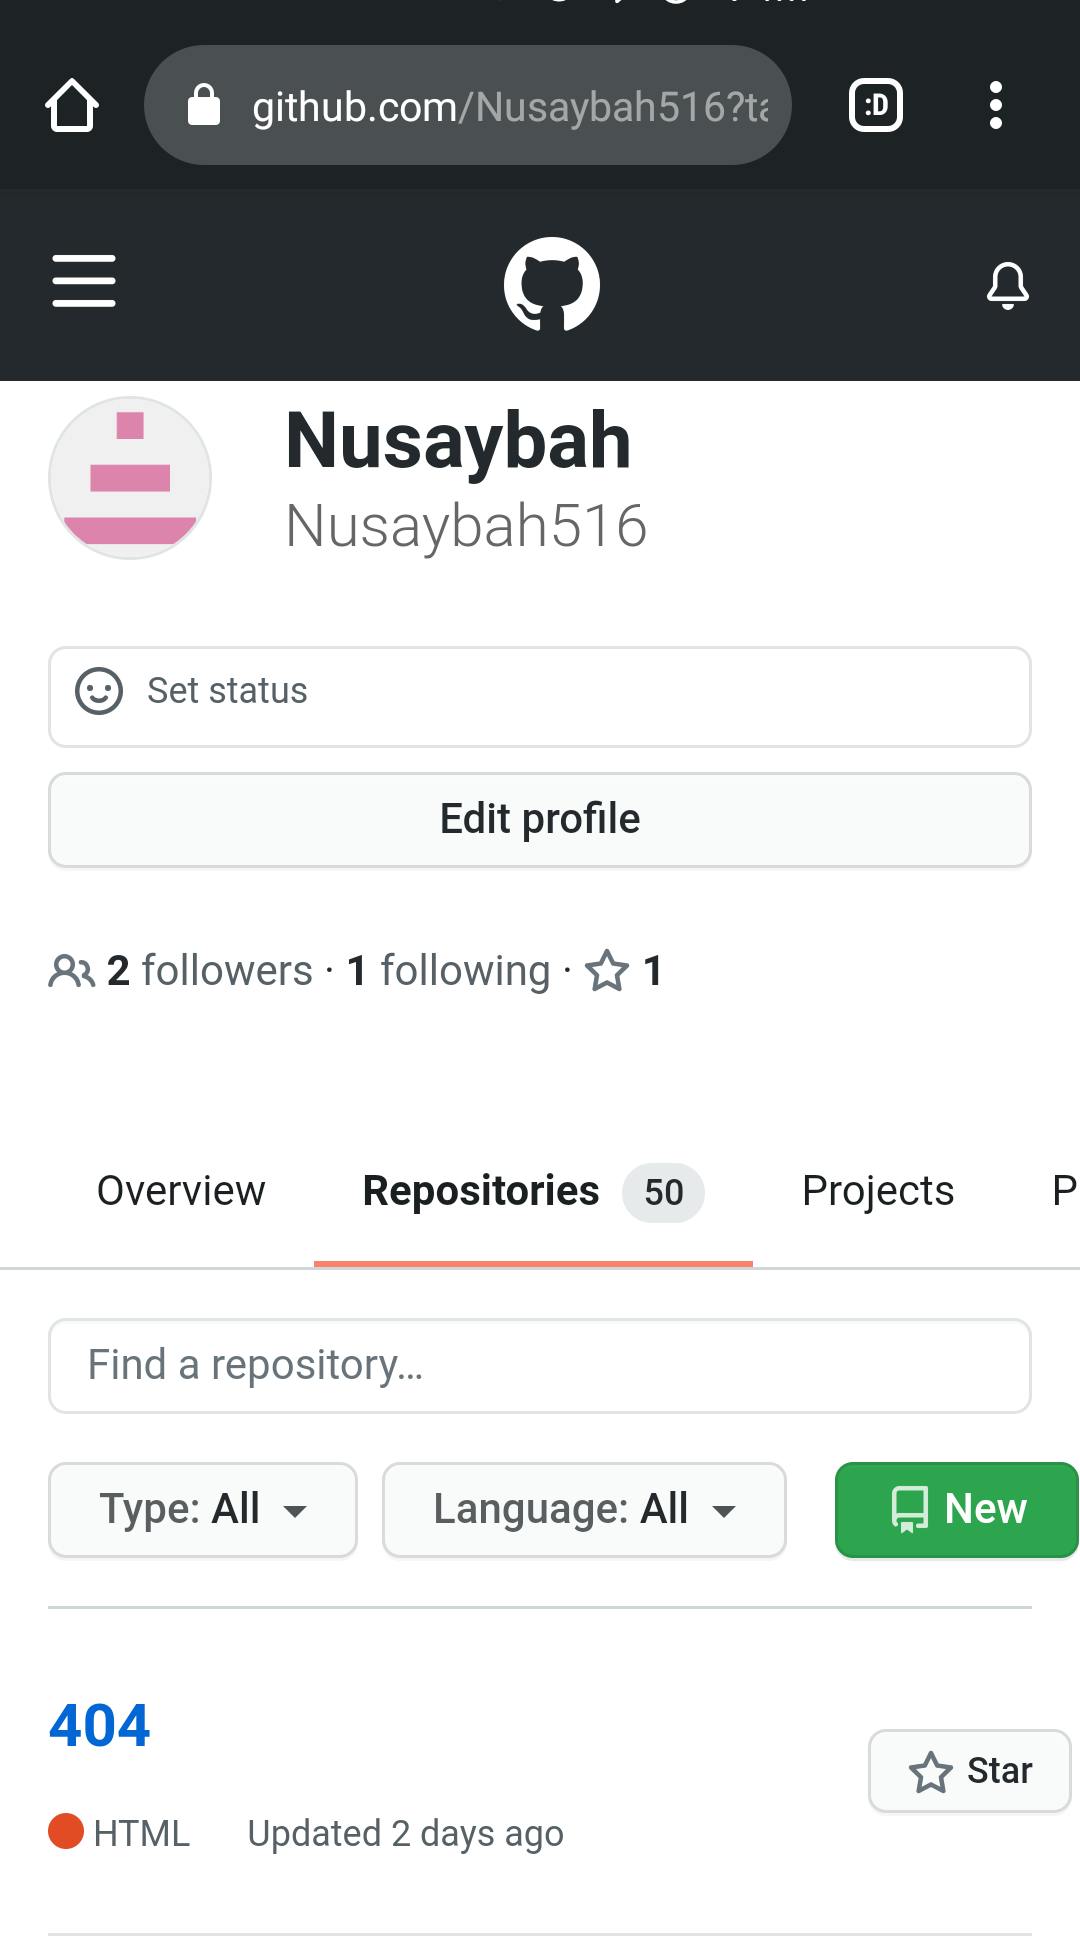
GitHub, Inc. is an American multinational corporation that provides hosting for software development and version control using Git. Git is a distributed version-control system for tracking changes in source code during software development. It is designed for coordinating work among programmers, but it can be used to track changes in any set of files. Its goals include speed, data integrity, and support for distributed, non-linear workflows. Github offers the distributed version control and source code management functionality of Git, plus its own features. Github is used by web developers and mobile developers. On Github, you can upload files that must have made up the project you are working on. For this, you would need a repository. A repository is a directory or storage space where your projects can live. GitHub users shorten this to “repo.” It can be local to a folder on your computer, or it can be a storage space on GitHub or another online host. You can keep code files, text files, image files; you name it, inside a repository. To create a repository, you must have a registered GitHub account. If you do not have a GitHub account already, click the link to get steps on how to create one. docs.aws.amazon.com/codedeploy/latest/userg.. .Once you have created the GitHub account, you begin to follow the steps below. On your profile page, look for a green button which reads new like in the picture below.
Once you click on the button, you would be lead to another web page where you get to input the details of your repository; as seen in pictures below.
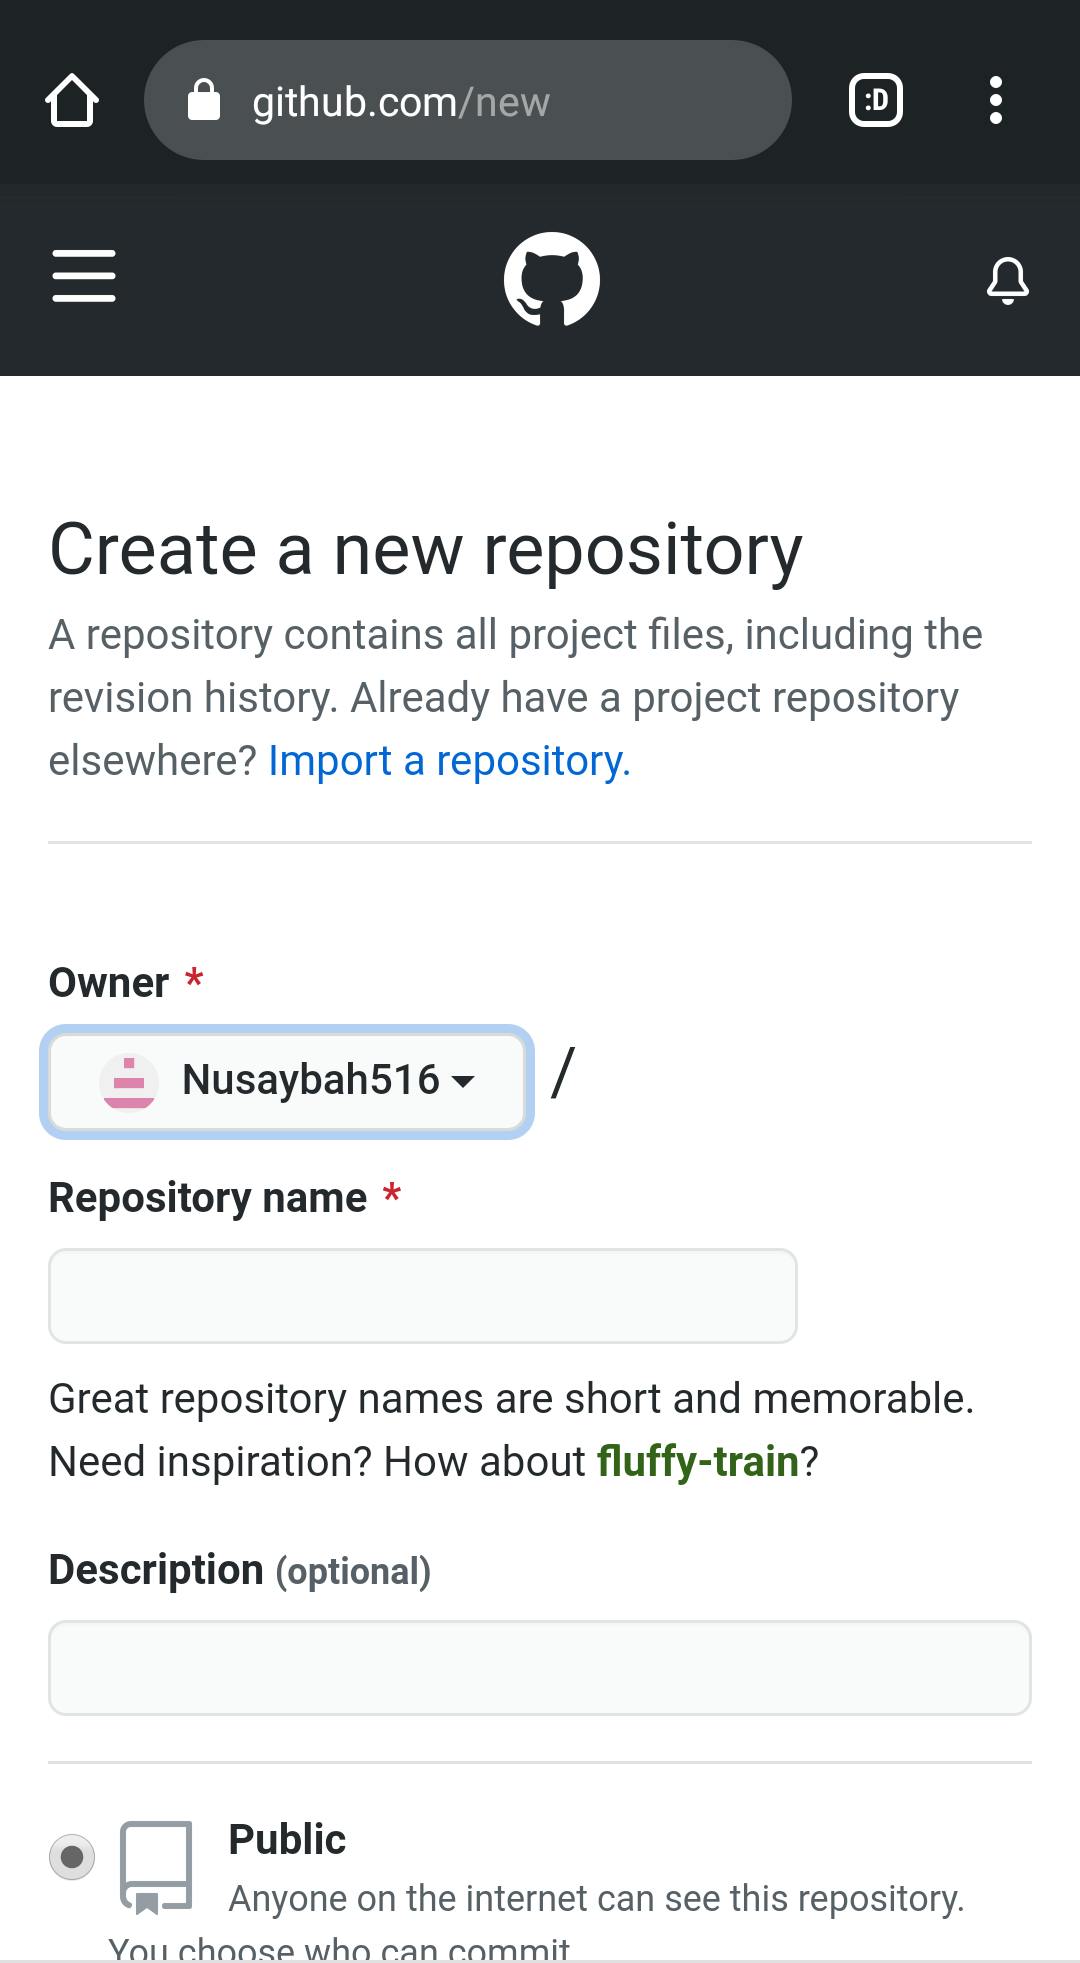

This new page allows you to name your repo, decide if you want your repo to be public or private and to add a README file to your repository. When naming your repo, make the name brief and short so as to easily remember it. It is also advised not to leave a space when naming your repo as it causes problems when hosting your site. Repo name: Gini Blog (wrong) Repo name: GiniBlog (correct) After naming your repo, the next thing to do is to decide if you want your repo to be public or private. Public repositories are visible to everyone using your GitHub Enterprise Server instance, while private repositories are only accessible to you, and people you share them with. Your decision would actually be based on what you want to do with the repo.
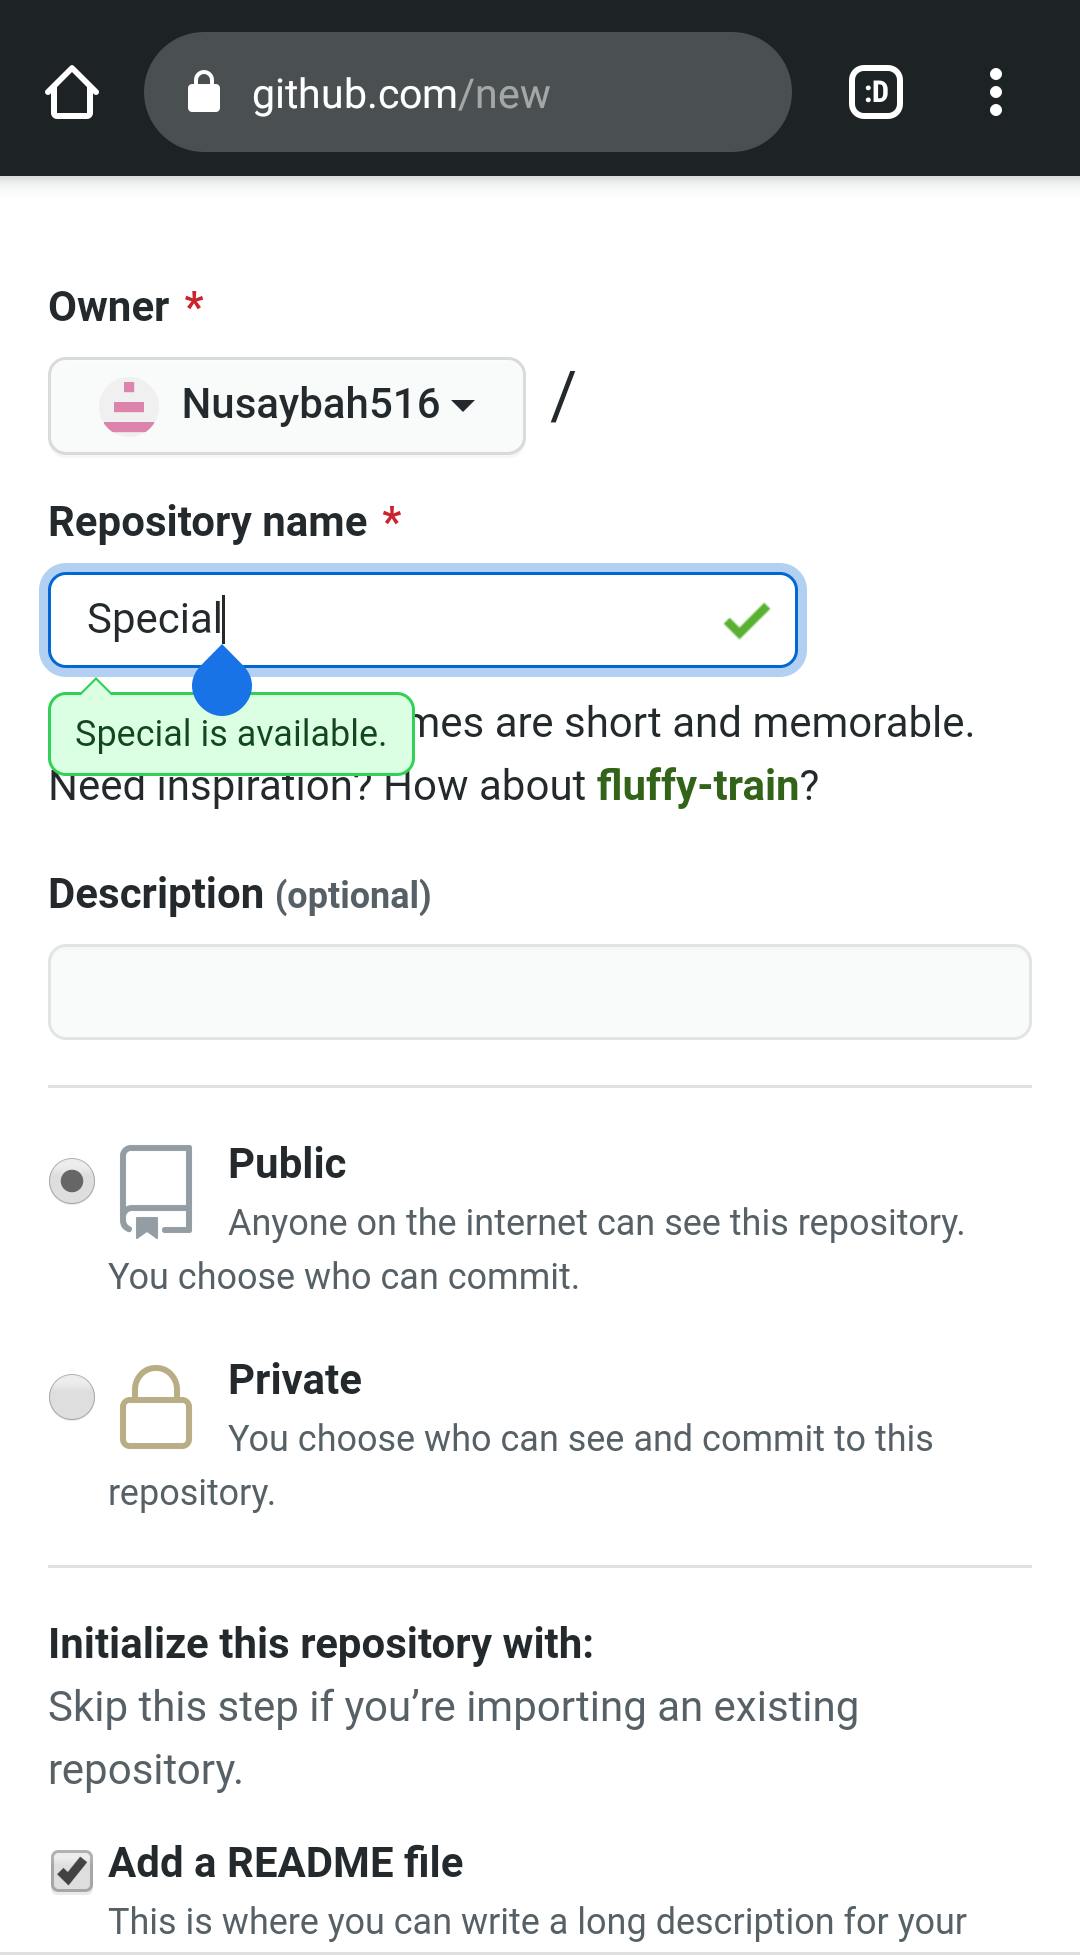 A README file contains information about other files in a directory or archive of computer software. A form of documentation, it is usually a simple plain text file called READ.ME, README.TXT, README.md, README.1ST – or simply README. The file's name is generally written in uppercase letters. This file allows other people that come across your repo understand what you have done whether they have tech knowledge or not. It is very important to add a README file to all your repositories.
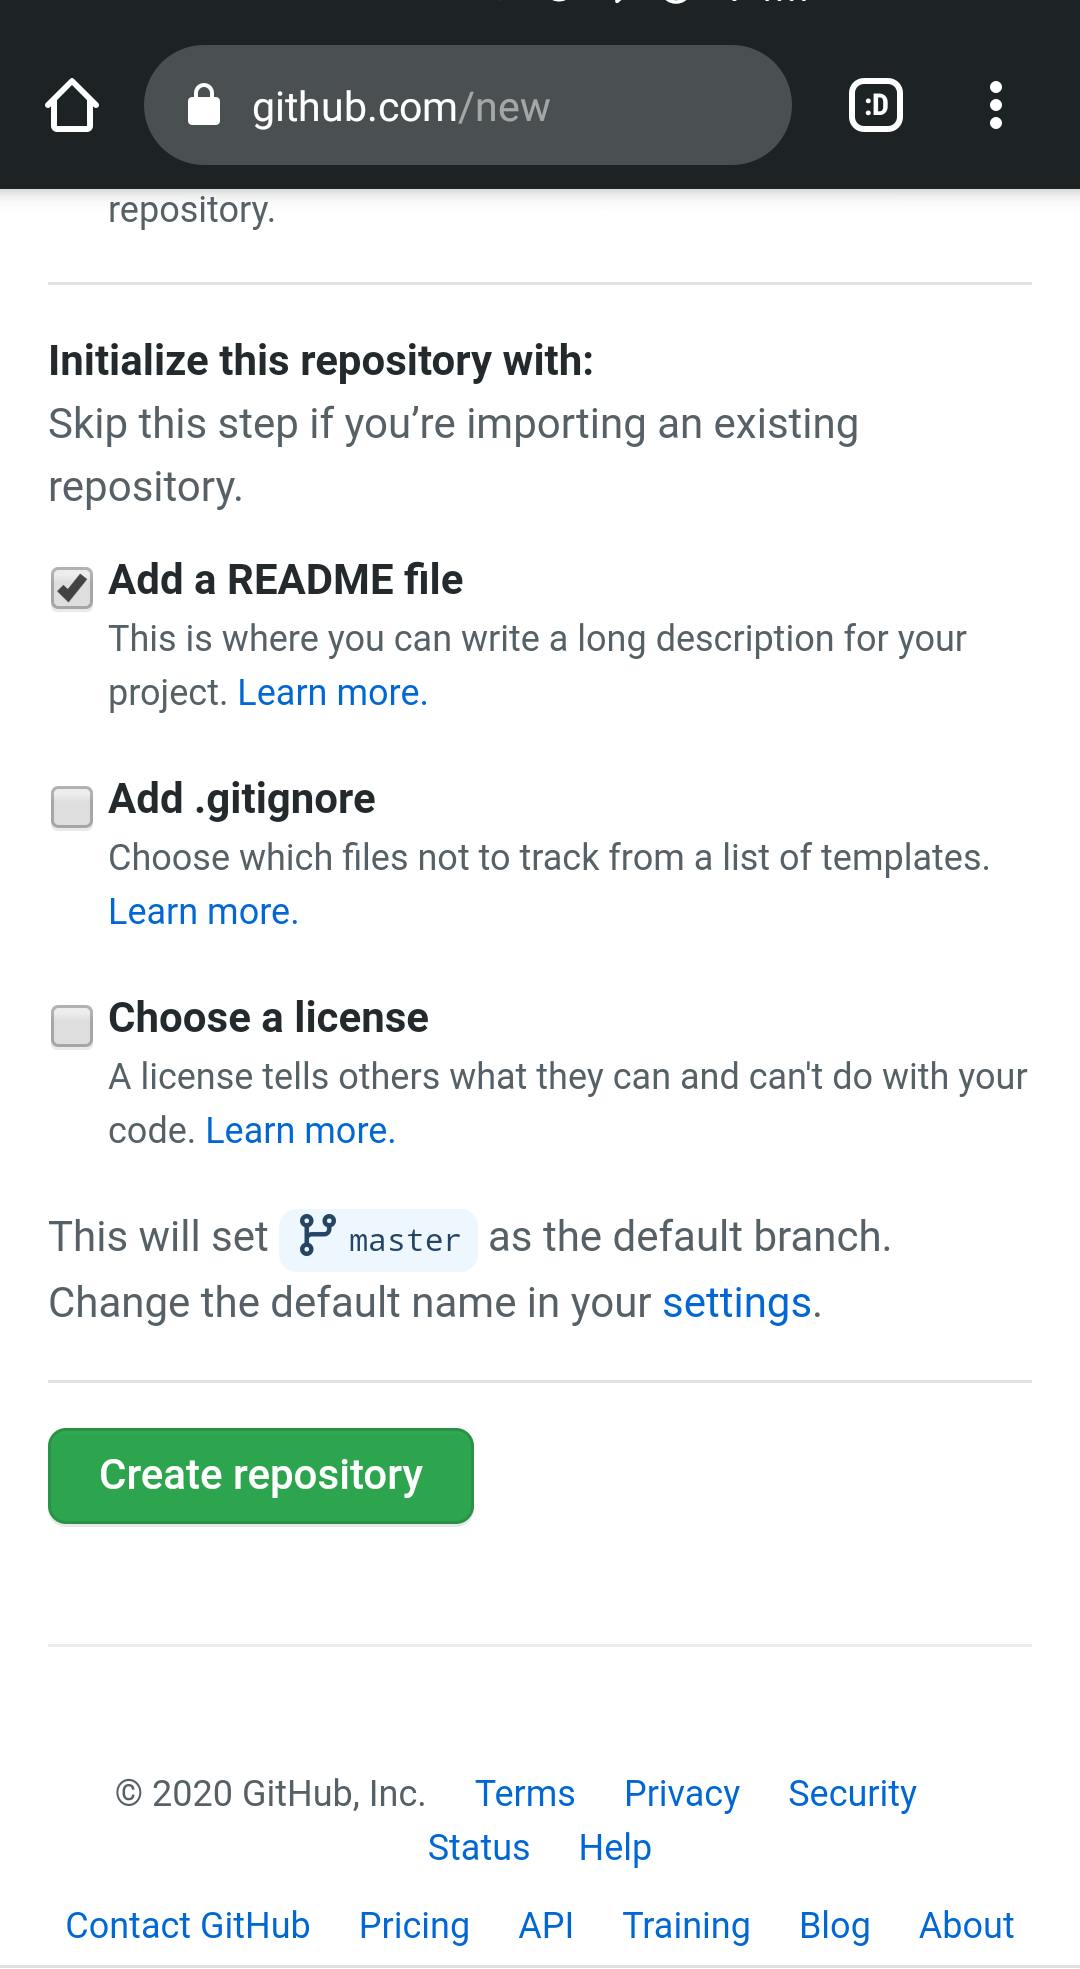 When you have selected all the options you want, you can then click on the “create repository” button and that would lead you to your newly created repository; as seen in below.
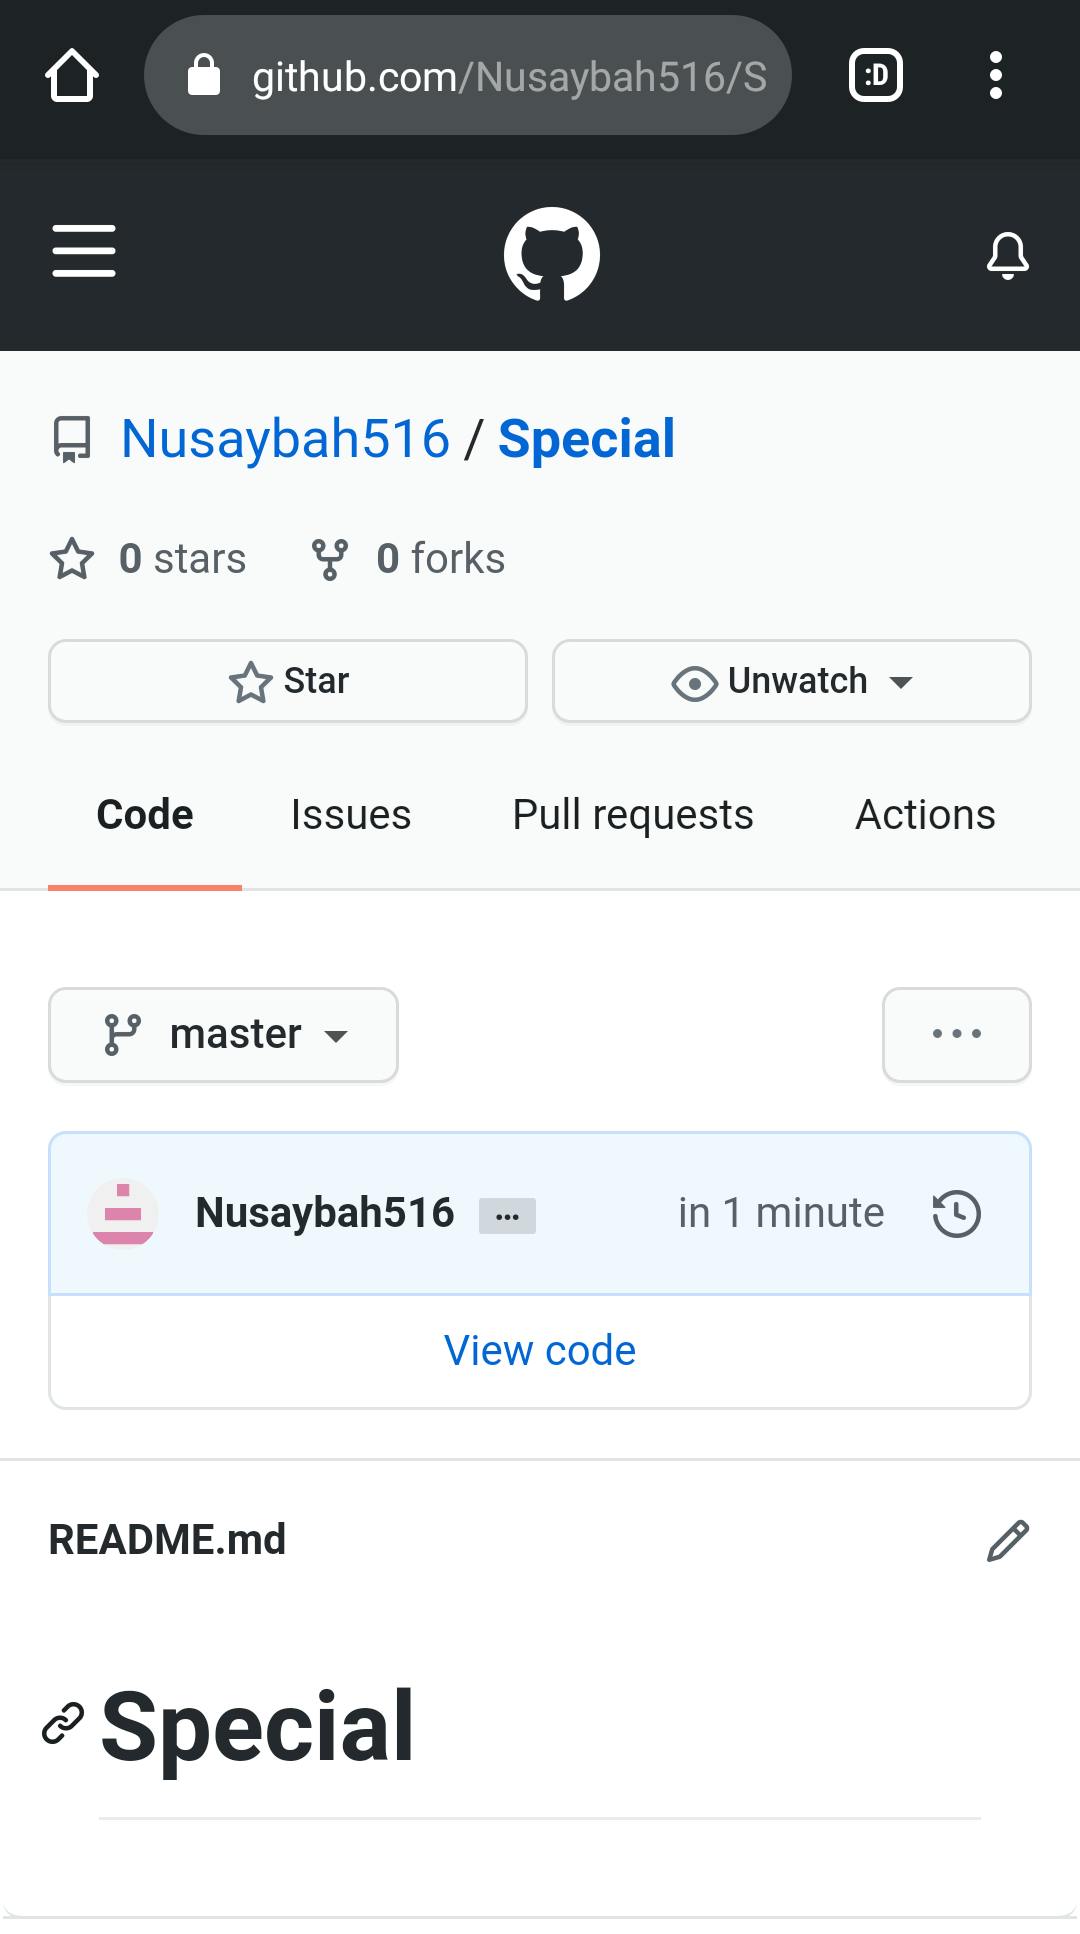
This process seems really easy but there could be some problems across the way. We would be looking at some problems that one can encounter when trying to create a GitHub repository.
• Network Issues: This is when your connection to the internet is tampered with. It could either be from your end or from your network provider. When this issue occurs, try to find the root of the problem. It is advisable to be calm when such problem occurs. • Repository name issues: As said earlier, it is best for your repo name to be just one word. It is advised to do this so you wouldn’t encounter issues when hosting your site.
During this process, there a common questions that are asked by users. Some of these questions would be answered in this write up.
Q: Must I own a GitHub account to create a repository on GitHub? A: Yes, having a GitHub account is an essential step you must take before creating a repo on GitHub. Without a GitHub account, you would not have the access to create a repo. Another reason for this is that your GitHub username is also a part of your repo details.
Q: Is it necessary to add a README file to my repository? A: The README file helps other people to understand what is going on in your repo and that is why it is essential to add it to your repo. It also allows you to give a detailed description of your project. All the information one might want to know about your project is put in the README file and that it is why it should be included in your repo.
So creating a GitHub repository or GitHub repo like developers love to call it, is an easy process once you follow the guidelines mentioned above. Ensure to follow each step properly to achieve the desired results. Remember to always add your README file to all your repositories. In a case where you come across an error, try to figure out the cause of the problem and be patient with it. Once you create your first repo, it would be so much easier to create other repositories for your amazing projects. Subsequently, you can jointly create a repository with members of your team or organization,